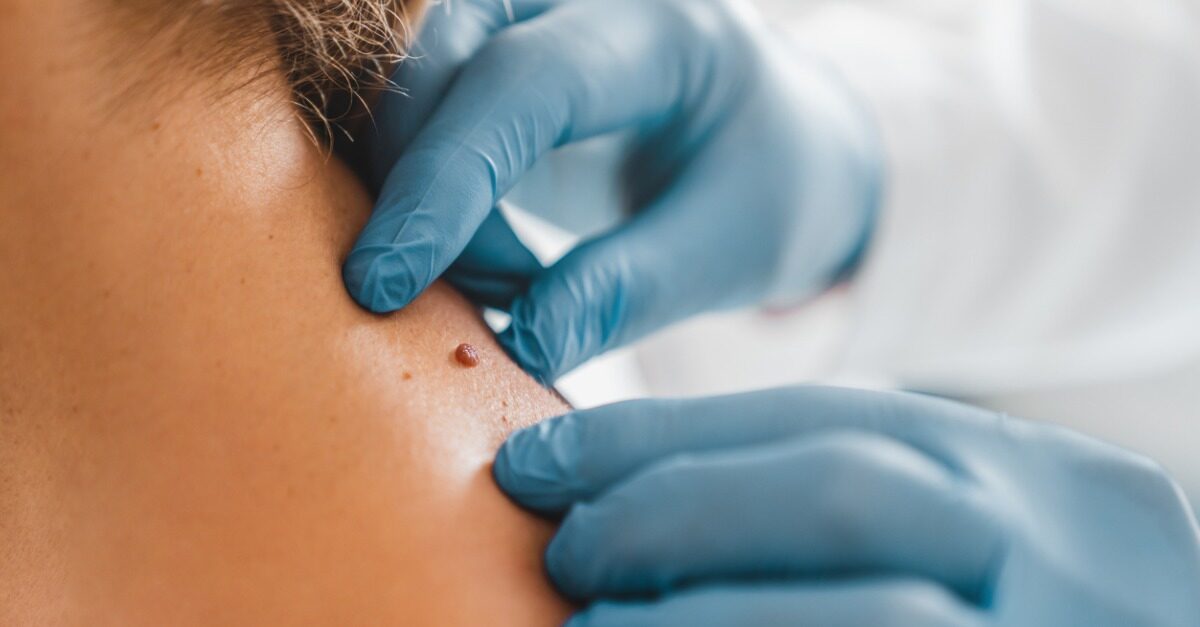
If you’ve received the news that your skin biopsy resulted in a positive skin cancer diagnosis, it’s understandable that you may be feeling nervous. Fortunately, there’s a highly effective and minimally invasive procedure available to treat it: Mohs surgery.
Created by surgeon Frederick E. Mohs in the 1930’s, this micrographic surgery has success rates of up to 99% and is considered the gold standard for treating basal cell and squamous cell carcinoma. In some cases, it may also be used to treat certain types of melanoma in its early stages.
Mohs surgery is a precise and detailed procedure that allows surgeons to remove all of the tissue affected by skin cancer, while ensuring the best cosmetic results. Because of these demands, Mohs surgery must always be performed by a certified Mohs surgeon. These skin care experts undergo advanced, one- to two-year fellowship training in the Mohs procedure, including reconstructive surgery and pathology.
The Mohs Surgery Process
Under most circumstances, the entire Mohs process usually takes place in one visit while you wait. We’ve outlined this advanced surgical process with referential help from the Skin Cancer Foundation.
Step 1: Preparation
First, the surgeon examines the biopsy area, marking surgical outlines with a pen. Depending on where the cancer is located, you may be asked to sit or lie down, to provide easiest access. The surgeon will then administer local anesthesia to the affected area by injection. You’ll remain awake throughout the procedure but shouldn’t feel anything.
Step 2: First Removal
The surgeon will then remove a thin, upper layer of tissue using a scalpel, with the understanding that more cancerous tissue may have extended beneath the surface. At this stage, you’ll receive a bandage after the excision and will be asked to relax in the office while the first set of tissue is examined.
Step 3: Lab Preparation
The next assessment process is extremely detailed, involving color coding of the tissue, and creating a map of the surgical site. The excised tissue is then frozen and sliced horizontally so it can be reviewed on a microscope slide.
Step 4: Microscopic Examination
Once the first tissue sample is ready, the surgeon will examine the tissue in tremendous detail, checking all edges and sides. If skin cancer is detected along the edges or under layers, the surgeon will then reference the area map to determine where more removal is needed.
Step 5: Subsequent Removal
If it’s determined you need a subsequent removal, you’ll be called from the waiting room. Your surgeon will then provide another injection of anesthesia, remove the further layer of tissue, and repeat the lab and examination processes. This three-step routine is completed as many times as needed to ensure all traces of skin cancer are eradicated.
Step 6: Wound Repair
Once all detected cancer cells have been removed, the surgeon may close your wound using stitches. You’ll then be bandaged and receive a set of aftercare instructions. You may also be advised to come for a follow-up visit to ensure the wound has healed properly.
The precise nature of the Mohs procedure makes it an excellent treatment option for areas of the skin that are cosmetically or functionally important, such as the face and hands. Because it requires only local anesthesia, many patients can also resume most of their normal activities quickly afterward.
Our practice is proud to have Dr. David Olanksy and Dr. Humza Ilyas, American College of Mohs Surgery certified surgeons, to handle your skin cancer removal involving this specialized process. Contact our office to schedule an appointment.


